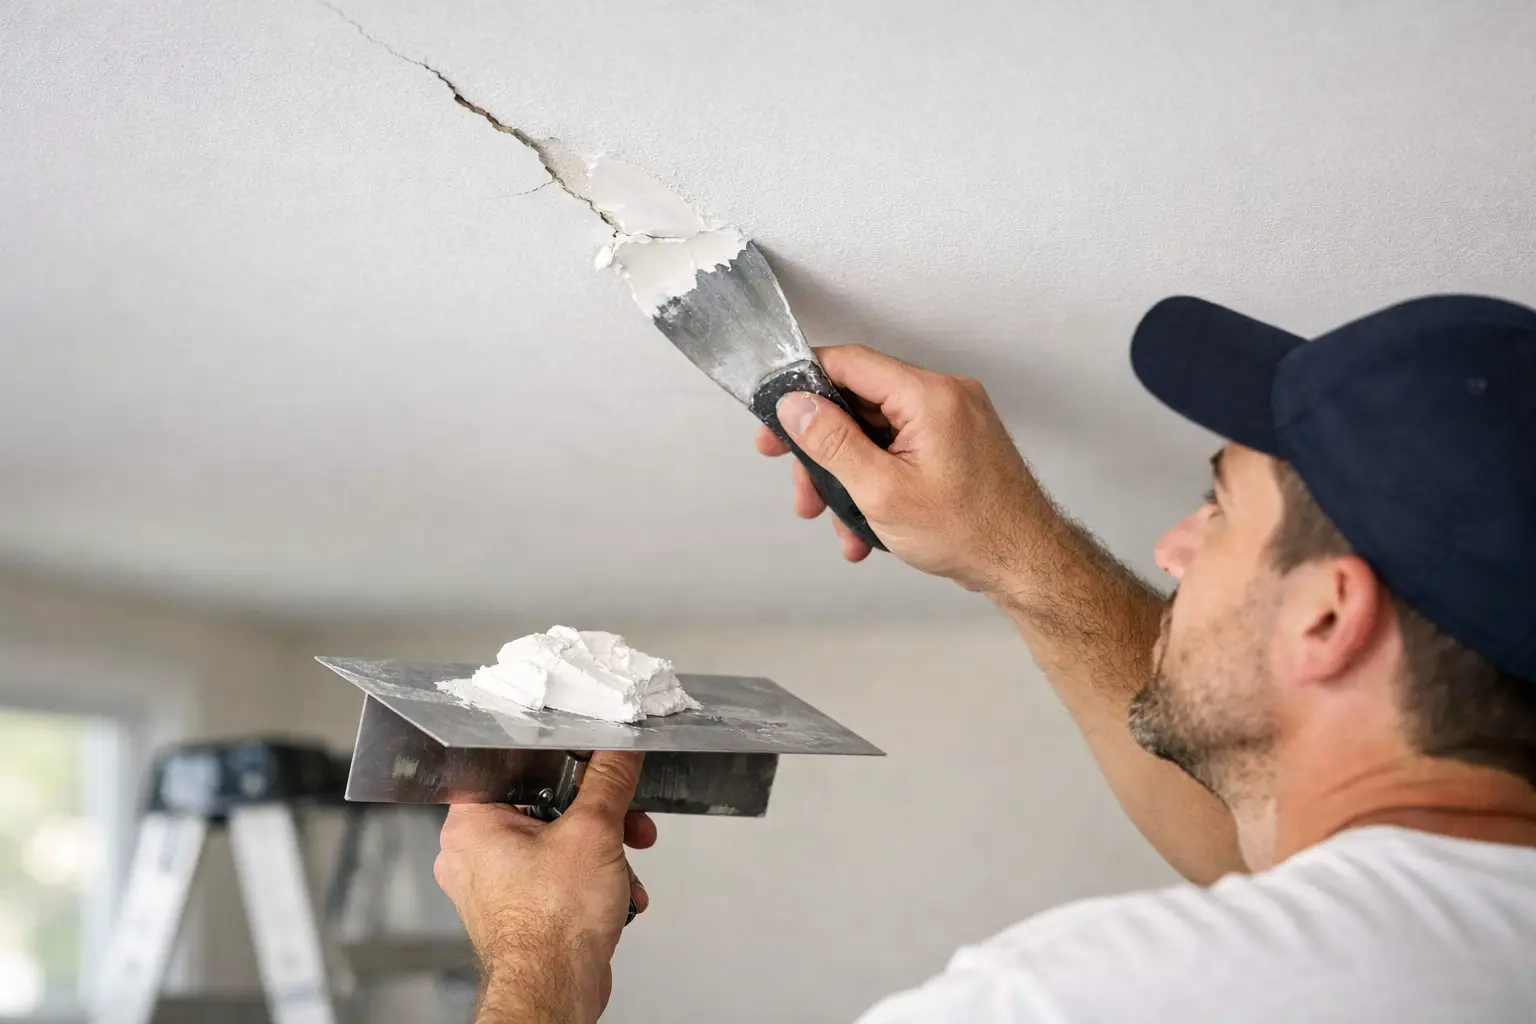
That hairline crack over the living room light usually starts as a cosmetic annoyance. Then the seasons change, the house shifts a little, and suddenly you are staring at a line that seems longer every time you look up. If you are wondering how to repair ceiling cracks, the right fix depends on what caused the crack in the first place. Some are simple surface issues. Others point to movement, moisture, or a previous patch that never really held.
Ceilings are different from walls in one important way - gravity is always working against the repair. A patch that looks fine for a week can loosen, sag, or flash through paint if the prep was rushed. That is why a lasting repair starts with diagnosis, not joint compound.
Before you repair ceiling cracks, identify the type
Not every ceiling crack means trouble, but not every crack is harmless either. A thin straight crack along a drywall seam is often the most common scenario. It can happen as a home settles, framing dries out, or tape loses bond over time. In many cases, that is a repairable cosmetic issue.
A wider crack, a crack that keeps reopening, or one paired with sagging drywall is different. So is a stain around the crack. If the ceiling has any sign of water damage, the source of the leak needs to be handled first, or the patch will fail again.
Plaster ceilings add another variable. Older homes may have plaster over lath, and cracks there can be more brittle, irregular, and layered. The repair process can still be straightforward, but the materials and expectations are a little different from those for standard drywall.
When a ceiling crack is a warning sign
A ceiling repair should pause if you notice a few red flags. One is movement. If doors are sticking, floors feel uneven, or cracks are appearing around windows at the same time, the issue may be bigger than just the ceiling surface. Another is moisture. Soft drywall, discoloration, peeling paint, or a musty smell all suggest water has been involved.
Popcorn texture can also change the plan. In older homes, textured ceilings may contain materials that should not be disturbed casually. If the ceiling was installed decades ago and the texture is original, it is smart to treat that as a separate evaluation before scraping or sanding.
If you manage a rental or second home, it is also worth paying attention to timing. A quick patch right before turnover can be tempting, but if the crack has active movement behind it, that quick fix may lead to a callback a few months later.
Tools and materials that usually work
For a standard drywall ceiling crack, you typically need a utility knife, a putty knife or taping knife, drywall joint compound, paper or fiberglass mesh tape, sandpaper or a sanding sponge, primer, and ceiling paint. A ladder with stable footing matters more than people think. Ceiling work gets awkward fast, and working overhead with poor balance usually leads to uneven mud and sore shoulders.
The material choice matters. Lightweight spackle is fine for tiny nail holes, but for a real crack, a proper joint compound and tape repair is usually the better route. If the crack runs along a seam, tape provides the patch with the reinforcement it needs.
How to repair ceiling cracks step by step
Start by protecting the room. Dust falls straight down, and ceiling repairs are messier than they look. Drop cloths, eye protection, and a dust mask are worth it.
Next, open the crack slightly with a utility knife. This sounds backward, but it helps remove loose material and gives the compound a clean edge to bond to. If the old tape is peeling, cut away any loose pieces. If paint is flaking, scrape it back until the surrounding surface is solid.
After that, check the surface for movement or softness. If the drywall flexes when pressed, or if screws have popped nearby, the panel may need to be resecured before patching. Adding drywall screws into the framing on either side of the crack can stabilize the section, but be careful not to overdrive them and break the paper face.
Once the area is solid, apply a thin layer of joint compound over the crack. Embed tape into the wet compound and smooth it with the knife. Paper tape often gives a stronger seam repair, but it takes a steadier hand. Fiberglass mesh is easier for many homeowners, though it can be more prone to showing through if too much compound is not properly built over it.
Let that first coat dry fully. Then apply a second, wider coat to feather the repair out beyond the taped area. This is where patience pays off. A ceiling patch that is too narrow often leaves a visible ridge after painting. Two or three light coats usually look better than one heavy coat.
When the compound is fully dry, sand lightly. The goal is smooth, not gouged. Harsh sanding can fuzz the tape or create a low spot around the patch. Run a work light across the ceiling to get an honest view. Ceiling repairs have a way of looking perfect until daylight hits them from the side.
Prime the patched area before painting. Fresh joint compound absorbs paint differently than the surrounding ceiling, and skipping primer is one of the main reasons repaired cracks flash through. After priming, repaint the area. In some cases, especially on older ceilings, repainting the whole ceiling gives a more even finish than spot painting.
How to repair ceiling cracks in plaster
Plaster ceilings need a little more caution. If the crack is minor and the surrounding plaster is firmly attached, you can often clean the crack, apply a compatible patching compound, reinforce as needed, and sand smooth after curing. If the plaster sounds hollow, crumbles easily, or has separated from the lath, a surface patch alone may not last.
That is where experience matters. Some plaster issues can be stabilized and repaired cleanly. Others are better addressed by securing loose sections, applying a skim coat, or replacing a damaged area. The right call depends on how much of the ceiling is affected.
Common mistakes that make cracks come back
The biggest mistake is treating a seam crack like a paint problem. Paint can hide a crack for a short time, but it will not reinforce it. Another common miss is skipping tape. Joint compound without reinforcement tends to split again, especially on ceilings.
Moisture is another repeat offender. If a bathroom ceiling cracks due to humidity, improved ventilation may be part of the solution. If the crack is below an attic, roofline, or plumbing run, make sure there is no leak history above it.
Then there is the finish work. Too much sanding, no primer, or trying to match an older ceiling with one quick coat of paint usually leaves a repair more visible than the crack itself. Sometimes the repair is structurally sound but cosmetically disappointing, which is frustrating after the work is done.
When it makes sense to call a professional
Some ceiling cracks are perfect weekend projects. Others are not worth guessing on. If the crack is wider than about 1/8 inch, keeps recurring, runs across multiple rooms, shows signs of staining, or is accompanied by sagging drywall, it is smart to bring in a professional. The same goes for high ceilings, textured finishes, and older plaster systems.
For busy homeowners and property managers, there is also the time factor. A proper ceiling repair can require several visits due to drying time between coats, and the finish quality depends on each step. If the room needs to look right the first time, hiring it out often saves money compared with redoing a failed patch.
A good contractor will tell you whether the crack is simply cosmetic or a sign that another issue needs attention. That kind of honesty matters. It is better to hear that a drywall seam needs reinforcement or that a leak should be resolved first than to pay for a patch that will reopen.
At Salida Home Services, this is the kind of repair we approach with a straightforward eye. We look at the cause, explain the options, and fix what actually needs fixing so the result lasts and the finish looks right.
Ceiling cracks rarely improve on their own, but they do not always call for a major repair either. The real difference lies in knowing whether you are looking at a surface flaw or a sign of something beneath it. Start there, take your time with the prep, and you will give the repair a much better chance of staying gone.
Aurthor:
Robby Bates